
Are you noticing inconsistent temperatures throughout your home? Do your energy bills seem to climb higher each year, no matter what you do with the thermostat? These are common frustrations for homeowners, and they often point to a single, unseen culprit: inadequate insulation. While you can’t see it working, insulation is one of the most important systems in your home, acting as a thermal barrier that keeps your living space comfortable and your energy costs under control. For many homes, especially those with tricky-to-reach spaces or existing walls, blown-in insulation offers an effective and efficient solution.
This guide is designed to be your complete resource for understanding blown-in insulation. Drawing from years of field experience, Makeover Insulation LLC has put together this information to walk you through everything you need to know. This guide will cover the different materials used, how the installation process works from start to finish, and the tangible benefits you can expect. Whether you’re building a new home, renovating an old one, or simply looking for ways to improve your home’s energy efficiency, this guide will provide clear, straightforward answers.
You’ll learn about:
- The fundamental differences between the three main types of blown-in insulation.
- What the step-by-step installation process involves and what to expect.
- How blown-in insulation lowers your energy bills and improves comfort.
- Key considerations for choosing the right material for your home’s specific needs.
- Answers to the most common questions homeowners have about this process.
By the end, you’ll have a solid understanding of how blown-in insulation works and whether it’s the right choice for making your home more comfortable and cost-effective.
What Exactly Is Blown-In Insulation?
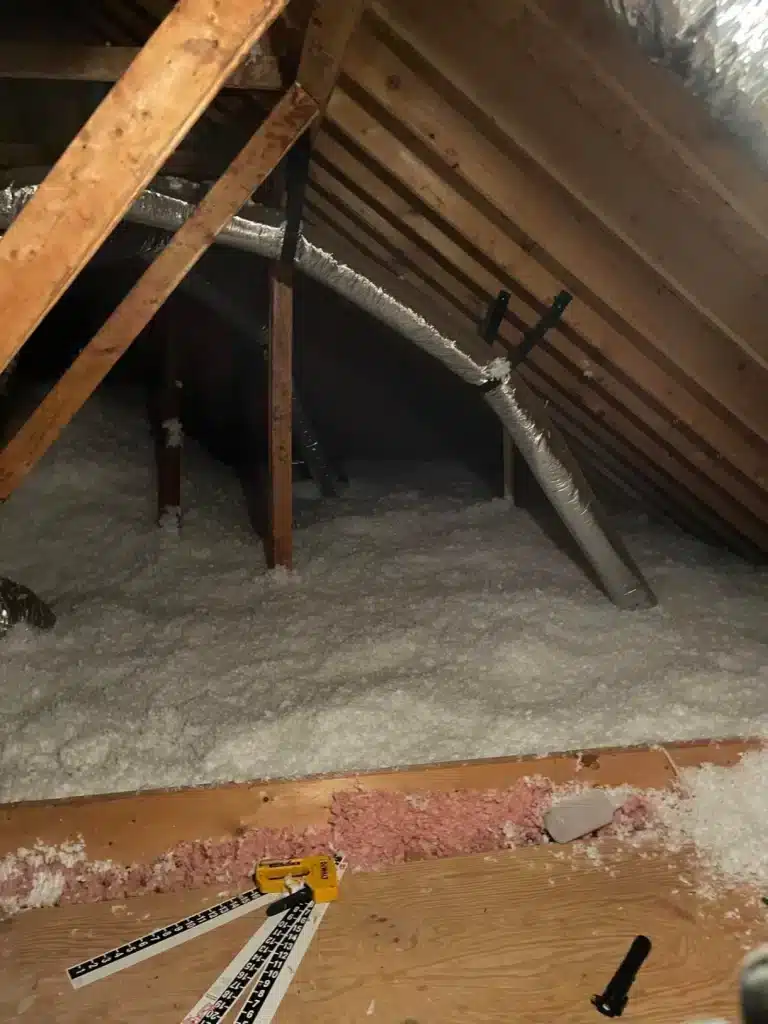
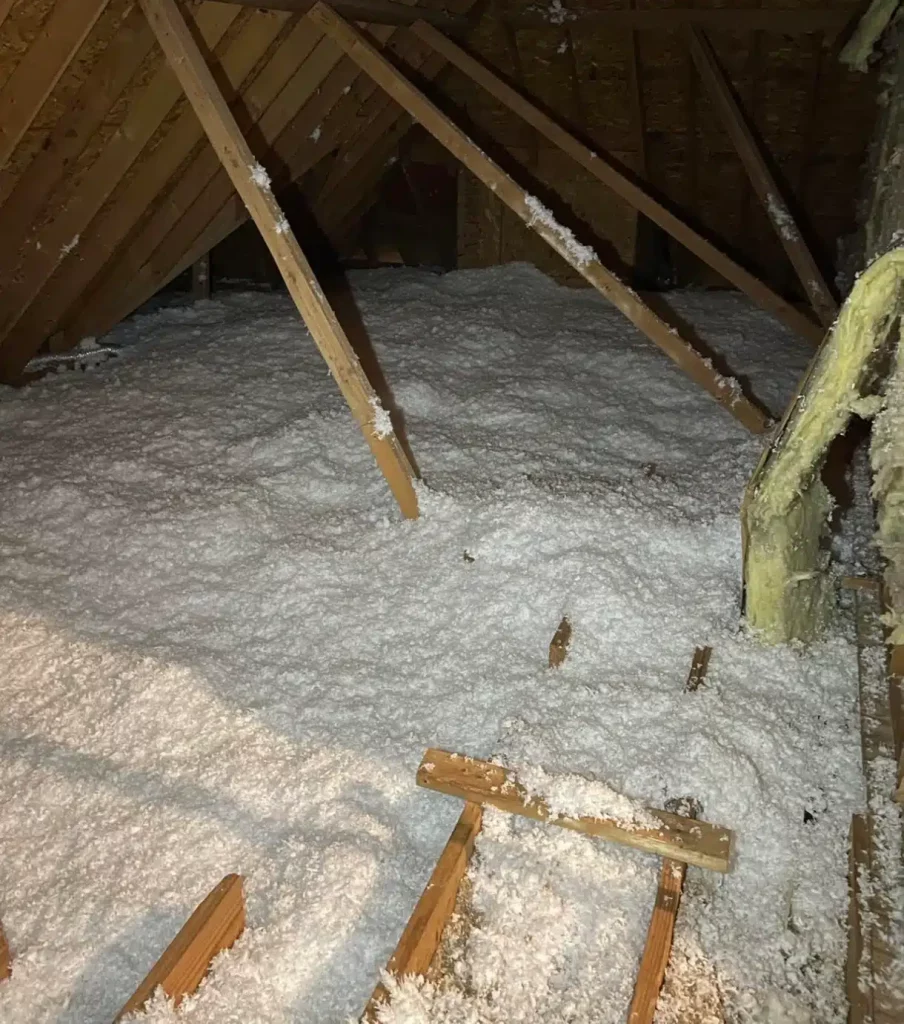
Blown-in insulation, also known as loose-fill insulation, is a type of thermal insulation made of small particles of fiber, foam, or other materials. Unlike traditional batt insulation that comes in pre-cut rolls, this material is installed using a specialized machine that blows the insulation through a long, flexible hose into the desired space.
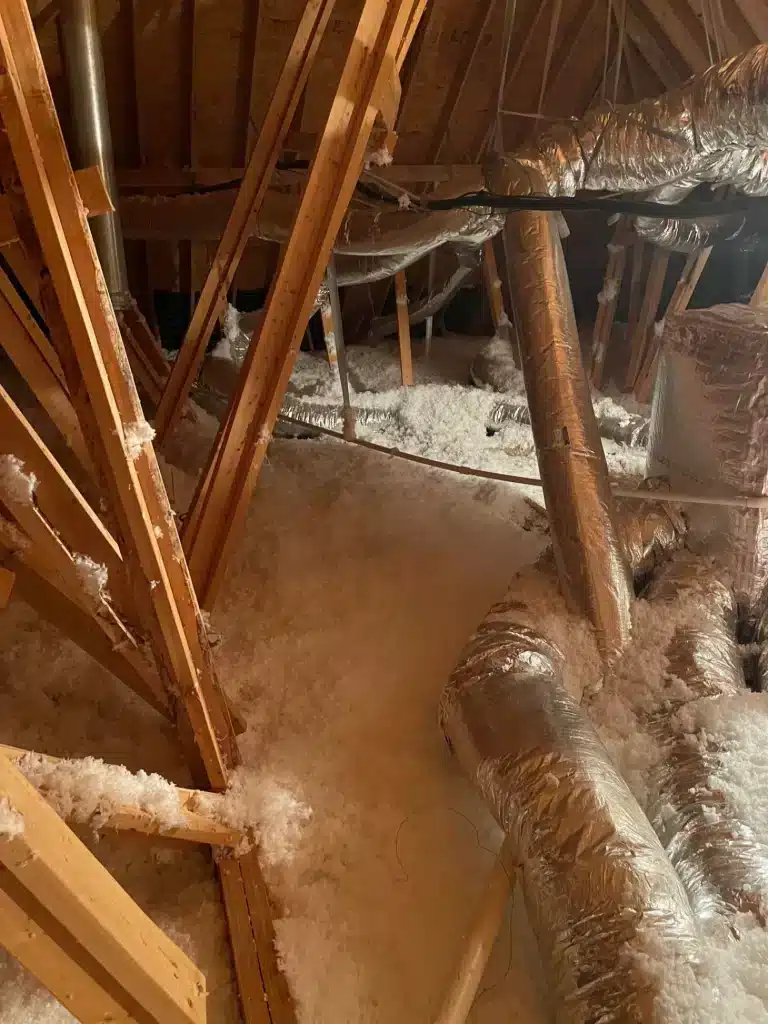
This method is particularly useful for attics, enclosed wall cavities, and other areas that are difficult to access. Because the material is loose, it can fill every nook and cranny, conforming perfectly around pipes, wiring, and irregular framing. This comprehensive coverage is one of its main advantages, as it helps to eliminate the gaps and air leaks that can reduce the effectiveness of other insulation types. The result is a consistent, protective layer that resists heat flow, keeping your home warmer in the winter and cooler in the summer.
The Three Primary Materials for Blown-In Insulation
The effectiveness of your insulation project depends heavily on the material you choose. Each of the three main types of blown-in insulation has its own set of properties, benefits, and ideal applications.
1. Blown-In Fiberglass
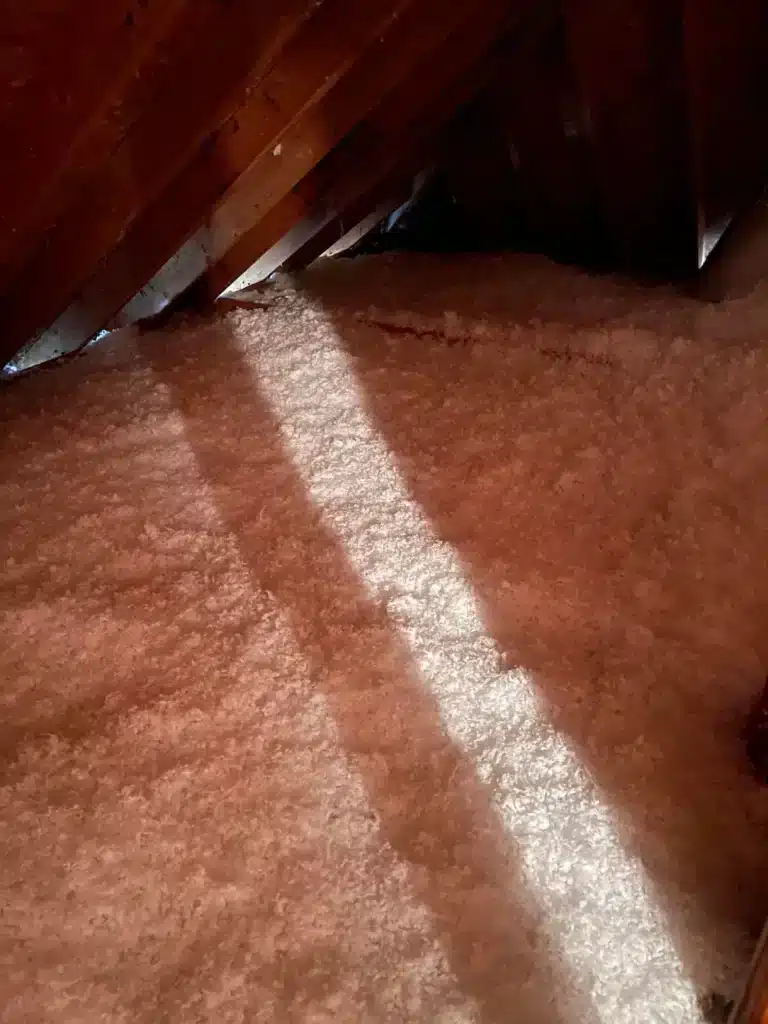
Fiberglass is one of the most common insulation materials on the market. This material is made from recycled glass and sand that is melted down and spun into fine fibers. For blown-in applications, this material is light, fluffy, and typically white or pink in color.
- Thermal Resistance: Blown-in fiberglass generally offers an R-value of about 2.2 to 2.9 per inch. To achieve a high total R-value, a significant depth of material is required.
- Moisture Resistance: Fiberglass fibers do not absorb moisture, which helps prevent the growth of mold and mildew. However, if the insulation becomes saturated, the water can pass through and damage surrounding materials like drywall and wood.
- Fire Resistance: The material itself is naturally non-combustible, giving it excellent fire-resistant properties.
- Cost: It is often the most budget-friendly option upfront.
2. Blown-In Cellulose
Cellulose insulation is an eco-friendly option made primarily from recycled paper products, such as newspaper. This recycled material is then treated with non-toxic borates to make it resistant to fire, pests, and mold. It has a dense, gray, and somewhat clumpy appearance.
- Thermal Resistance: Cellulose has a higher R-value than fiberglass, typically ranging from 3.2 to 3.8 per inch. This means you can achieve the same level of insulation with less material depth.
- Moisture Resistance: The borate treatment helps cellulose manage moisture. It can absorb some water and then release it as it dries, without supporting mold growth. However, excessive or prolonged wetting can cause it to compact and lose R-value.
- Fire Resistance: The fire-retardant treatment gives cellulose a Class 1 fire rating. When exposed to flame, it chars over and slows the burn, which can help limit the spread of a fire.
- Soundproofing: Due to its density, cellulose is an excellent sound-dampening material, making it a great choice for reducing noise between floors or from the outside.
3. Rock Wool (Mineral Wool)
Rock wool, also known as mineral wool, is a type of insulation made from volcanic rock (basalt) and recycled slag from the steel industry. These materials are melted and spun into fibers, similar to how fiberglass is made. The result is a dense, cotton-like material.
- Thermal Resistance: Rock wool offers a high R-value, similar to cellulose, at around 3.0 to 3.3 per inch.
- Moisture Resistance: It is highly resistant to moisture and does not support mold, mildew, or fungal growth. Water beads up and drains away from it.
- Fire Resistance: This is where rock wool truly stands out. A report from Intertek notes that mineral wool products are non-combustible and can withstand temperatures above 1,000° C (1,832° F), making them an exceptional fire barrier.
- Durability: It is very durable and does not settle or lose its shape over time, ensuring long-term performance.
Comparing the Materials at a Glance
| Feature | Blown-In Fiberglass | Blown-In Cellulose | Blown-In Rock Wool |
|---|---|---|---|
| Average R-Value/Inch | 2.2 – 2.9 | 3.2 – 3.8 | 3.0 – 3.3 |
| Material Source | Recycled Glass & Sand | Recycled Paper | Basalt Rock & Slag |
| Fire Resistance | Excellent (Non-Combustible) | Very Good (Treated) | Superior (Non-Combustible) |
| Moisture Handling | Does Not Absorb Water | Can Absorb & Release | Repels Water |
| Sound Dampening | Good | Excellent | Excellent |
Key Takeaways: Choosing Your Material Your choice of material ultimately depends on balancing budget, location, and specific performance goals. While fiberglass is a cost-effective entry-level option, cellulose offers a popular balance of superior thermal and sound performance for a moderate price. For homeowners prioritizing maximum safety and durability, rock wool provides top-tier fire and moisture protection. The Blown-In Insulation Installation Process
A professional insulation installation is key to getting the most out of your new insulation. While the concept is simple, the execution requires specialized equipment and expertise to ensure a safe and effective result.
Step 1: Preparation and Safety Check
Before any insulation is installed, a thorough inspection of the area is necessary. This includes:
- Identifying and Sealing Air Leaks: Small cracks and gaps in the attic floor, around light fixtures, plumbing vents, and chimneys are sealed with caulk or spray foam. This step is critical because it prevents conditioned air from escaping your living space.
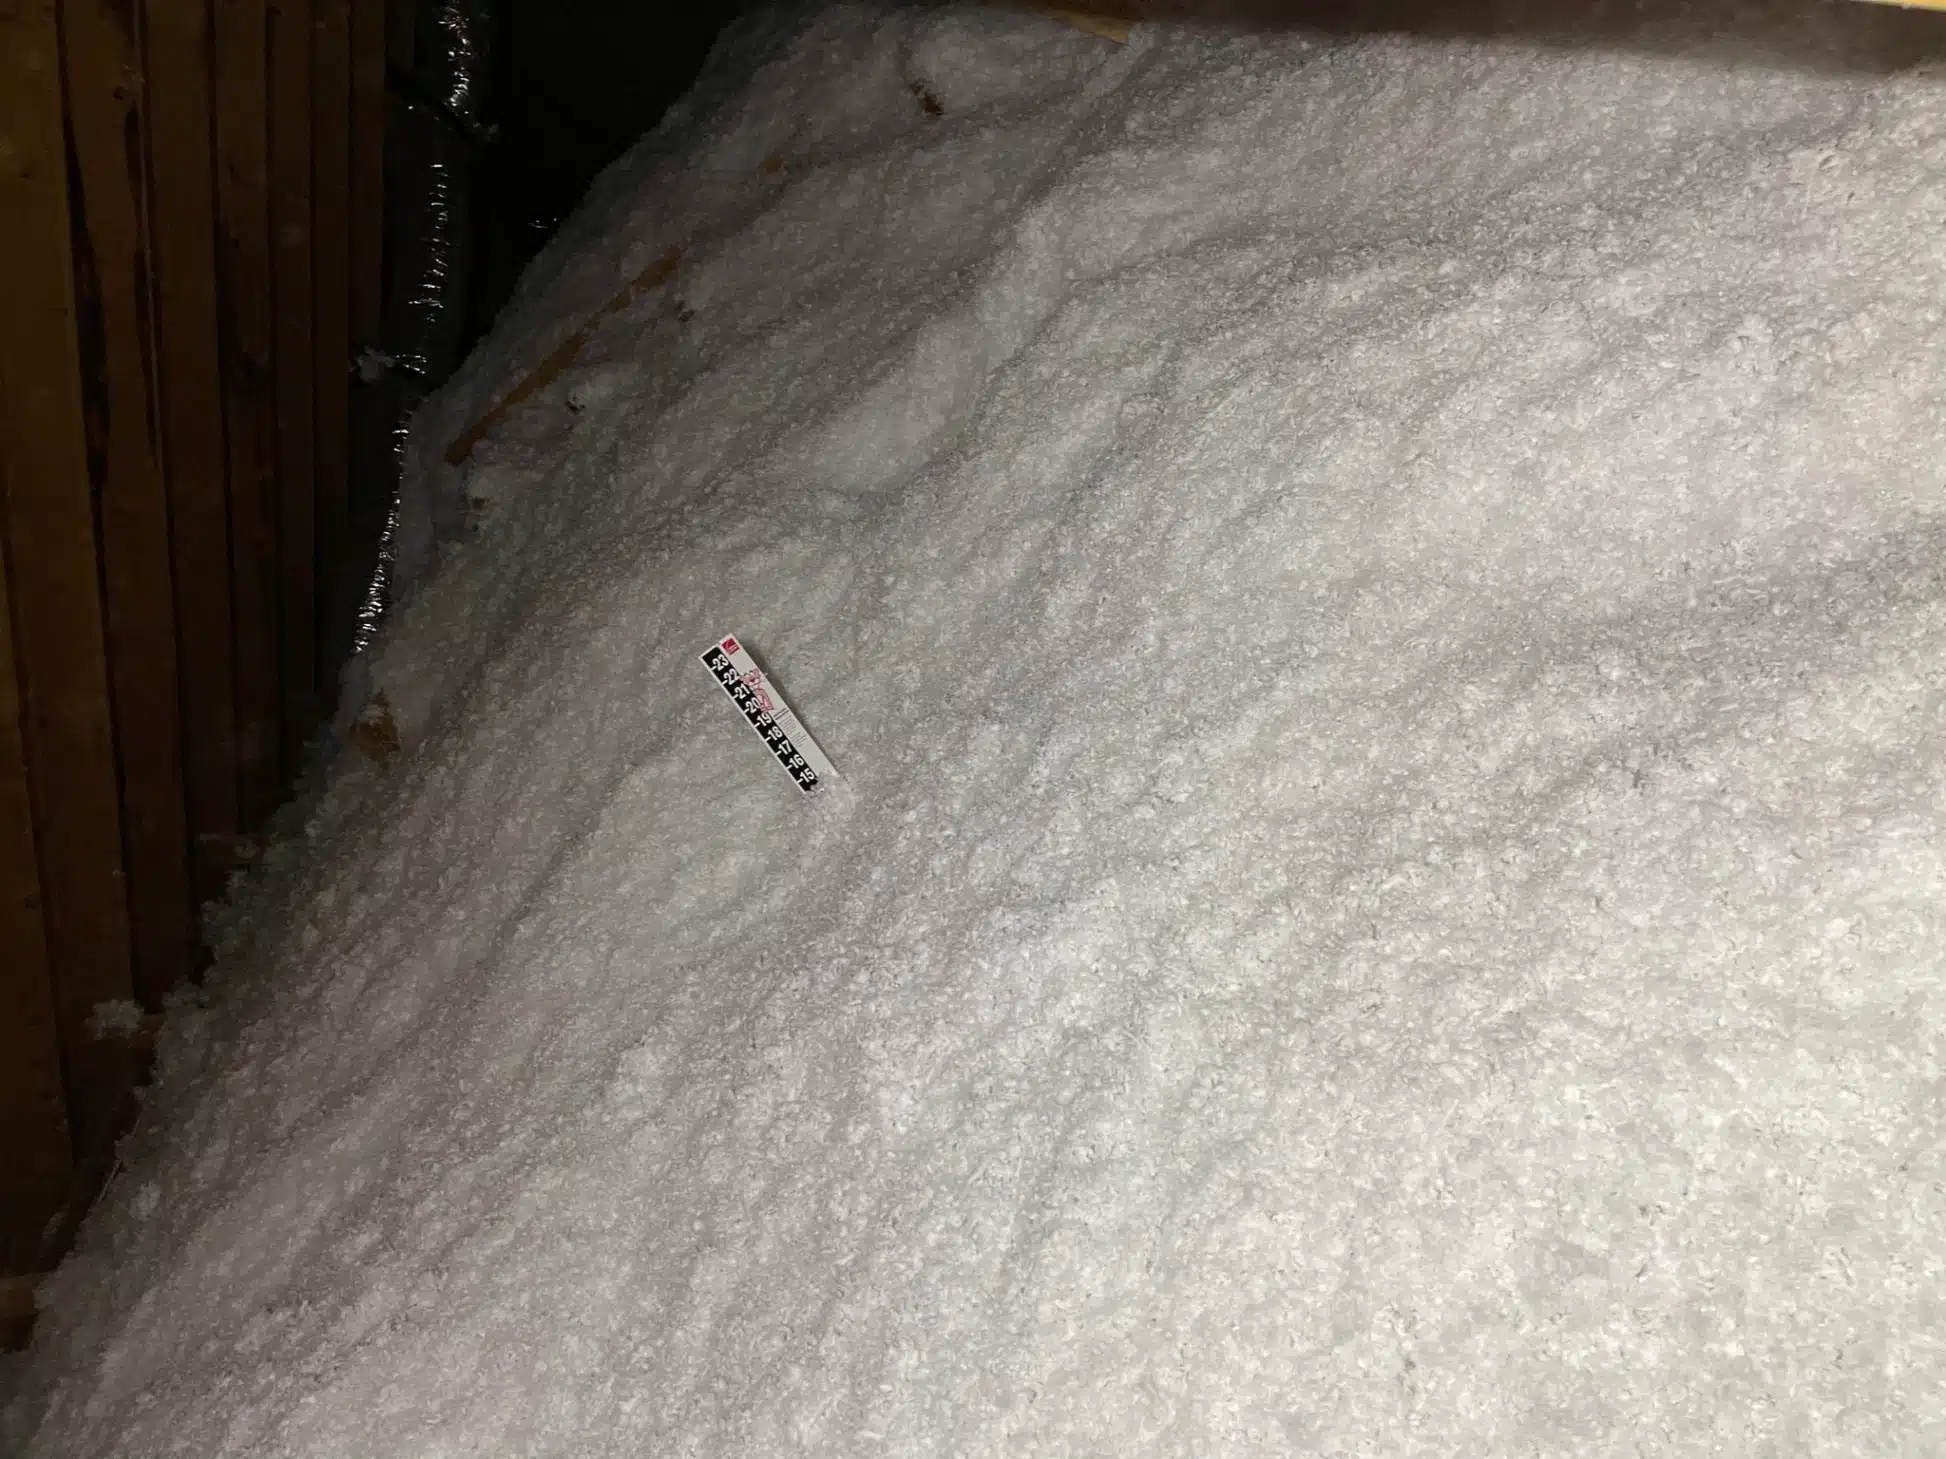
- Installing Baffles and Rulers: Soffit vents need to remain clear to allow for proper attic ventilation. Installers will place baffles (also called rafter vents) to create a channel for air to flow from the soffits to the ridge vent. They will also install depth rulers to ensure the insulation is blown to the correct, uniform level throughout the space.
- Protecting Fixtures: Recessed lights and other heat-generating fixtures must be properly protected. If they are not rated for direct contact with insulation (non-IC-rated), a protective barrier must be built around them to prevent a fire hazard.
Expert Tip: Ask your installer about air sealing before they begin. A proper air sealing job can be just as important as the insulation itself for maximizing energy savings. According to the U.S. Department of Energy, reducing drafts can lower heating and cooling costs by up to 20%.
Step 2: Setting Up the Equipment
The primary piece of equipment is a large blowing machine, which is typically mounted on a truck or trailer outside the home. A large hose, often several hundred feet long, is run from the machine into the area being insulated, like the attic. Bags of the chosen insulation material are fed into a hopper on the machine, where rotating agitators fluff it up and break apart any clumps.
Step 3: Blowing the Insulation
One technician feeds the material into the machine while another technician inside the attic or workspace directs the hose. They will systematically move around the space, pointing the hose into the joist cavities and open areas. The goal is to apply a consistent, even blanket of insulation that reaches the desired depth marked on the rulers. For enclosed spaces like walls, a technique called “dense-packing” is used, where the material is blown in at a higher pressure to fill the cavity completely and prevent settling.
Step 4: Cleanup and Final Inspection
Once the target R-value is achieved, the installers will remove the hose and equipment. They should clean up any residual dust or material that may have escaped the work area. A final inspection ensures that the insulation depth is uniform and that all vents and fixtures are clear.
The Major Benefits of Blown-In Insulation
Upgrading your insulation is an investment that pays you back in multiple ways. Here are some of the most significant advantages of choosing a blown-in application.
Superior Energy Efficiency
This is the number one reason most people upgrade their insulation. By creating a seamless thermal barrier, blown-in insulation drastically reduces heat transfer. In the winter, it keeps the warm air from your furnace inside, and in the summer, it blocks the sun’s heat from entering your home. This efficiency means your HVAC system doesn’t have to work as hard, which directly translates into lower monthly energy bills. In fact, a 2022 report from the North American Insulation Manufacturers Association (NAIMA) showed that homeowners can save an average of 15% on heating and cooling costs by air sealing and adding insulation.
Enhanced Home Comfort
Beyond just saving money, proper insulation makes your home a more pleasant place to live. It helps eliminate hot and cold spots, creating a more consistent and comfortable temperature from room to room. It also reduces drafts, making your living spaces feel cozier during the colder months.
Excellent Sound Control
If you live on a busy street or just want more peace and quiet indoors, certain blown-in materials are a fantastic solution. The dense nature of cellulose and rock wool is particularly effective at absorbing sound waves. This can significantly reduce noise from outside traffic as well as sound transmission between different floors and rooms within your home.
Fills Irregular Spaces Perfectly
Older homes, in particular, often have non-standard framing and plenty of obstructions in the attic and walls. This is where blown-in insulation shines. Unlike batts, which must be cut to fit around pipes and wires, loose-fill material flows into every gap and void. This gap-free coverage ensures there are no weak spots in your thermal shield, providing better overall performance.
Expert Tip: If you have an existing attic with old, compressed insulation, you don’t always need to remove it. In many cases, a fresh layer of blown-in insulation can be applied directly over the top to bring your home up to modern standards.
Environmentally Friendly Options
For those concerned about environmental impact, cellulose insulation is an outstanding choice. It’s composed of up to 85% recycled materials, diverting a massive amount of paper waste from landfills. This makes it one of the greenest building materials available. The global market for green building materials is growing, with a report from [Grand View Research] projecting significant expansion, driven by consumer and regulatory demand for sustainable options.
Common Challenges and Considerations
While blown-in insulation is a great solution for many homes, there are a few things to keep in mind before starting a project.
Potential for Settling
Over time, some loose-fill materials can settle, which reduces their depth and, consequently, their R-value. Fiberglass and cellulose are the most prone to this. However, a professional installer will account for this by either installing a slightly greater initial depth or, in the case of walls, using the dense-pack technique to minimize settling. Rock wool is highly resistant to settling.
Moisture Can Be a Problem
If you have a roof leak or excessive condensation in your attic, wet insulation can become a serious issue. Compressed, wet insulation loses its thermal resistance and can lead to mold growth on surrounding wood structures. This is why it’s so important to fix any known moisture problems before you install new insulation.
Requires Professional Installation
Although DIY-grade blowing machines are available for rent, achieving a professional-quality result is difficult. An experienced crew knows how to ensure even coverage, avoid blocking ventilation, and work safely around potential hazards. For a job this important to your home’s performance, relying on a professional is almost always the better investment, as an expert team like Makeover Insulation LLC has the tools and training to get the job done right the first time.
Expert Tip: When getting quotes, make sure the contractor specifies the final R-value they are installing, not just the depth in inches. Different materials require different depths to achieve the same R-value, so this is the only way to compare quotes accurately.
Putting Your Insulation Strategy into Action
You now have a complete picture of blown-in insulation, from the different materials you can choose to how it’s installed and the benefits it provides. This method offers a powerful way to create a seamless, efficient thermal envelope for your home, especially in attics and other hard-to-reach areas. By filling every gap and void, it stops air leakage and heat transfer far more effectively than many other methods.
The key takeaways are clear: choosing the right material for your needs, ensuring proper air sealing is done beforehand, and relying on a professional installation are the three pillars of a successful project. Investing in quality insulation is not just an expense; it’s a long-term improvement that adds value, comfort, and efficiency to your home for decades to come.
Need Expert Guidance?
Understanding insulation can be complex, but making the right choice doesn’t have to be. If you have more questions or want a professional assessment of your home’s specific needs, the team at Makeover Insulation LLC is here to help. For a no-obligation consultation, you can reach us by phone at (404) 800-0300 or send an email to [email protected]. Let’s make your home as comfortable and efficient as it can be.
Sources
- Intertek – Information on fire testing standards and the performance of building materials like mineral wool.
- North American Insulation Manufacturers Association (NAIMA) – Data and studies on the energy savings homeowners can achieve through proper insulation.
- U.S. Department of Energy – Resources and statistics on the benefits of air sealing and home insulation for energy conservation.
Frequently Asked Questions About Blown-In Insulation
How long does blown-in insulation last?
When installed correctly in a dry, well-ventilated space, blown-in insulation can last for the life of the house. It does not typically degrade or expire, but its effectiveness can be reduced if it becomes compressed, wet, or contaminated.
Is blown-in insulation messy?
The process can create some dust, but professional installers take precautions to contain it. They often use plastic sheeting to protect living areas near the access point (like an attic hatch in a hallway) and perform a thorough cleanup afterward.
Can blown-in insulation be added to existing walls?
Yes, this is a common application known as “drill-and-fill.” Installers will drill small holes in the wall cavities from either the inside or outside, insert the hose, and dense-pack the cavity with insulation. The holes are then plugged and patched, leaving a minimal trace.
How much does blown-in insulation cost?
The cost depends on the material chosen, the size of the area being insulated, the desired R-value, and the complexity of the job. Generally, costs are quoted per square foot. Fiberglass is the most affordable, followed by cellulose, with rock wool being the premium option.
Is blown-in insulation safe?
Yes. All modern insulation materials are manufactured to be safe for home use. They are treated to be fire-resistant, and once installed, they are sealed behind drywall or in the attic, posing no risk to indoor air quality. Installers wear protective gear during the application process.
Can I put blown-in insulation over my old attic insulation?
Absolutely. As long as the existing insulation is dry and free of mold, adding a new layer of blown-in insulation on top is a cost-effective way to improve your home’s thermal performance. This is often called “capping” or “topping up.”
.