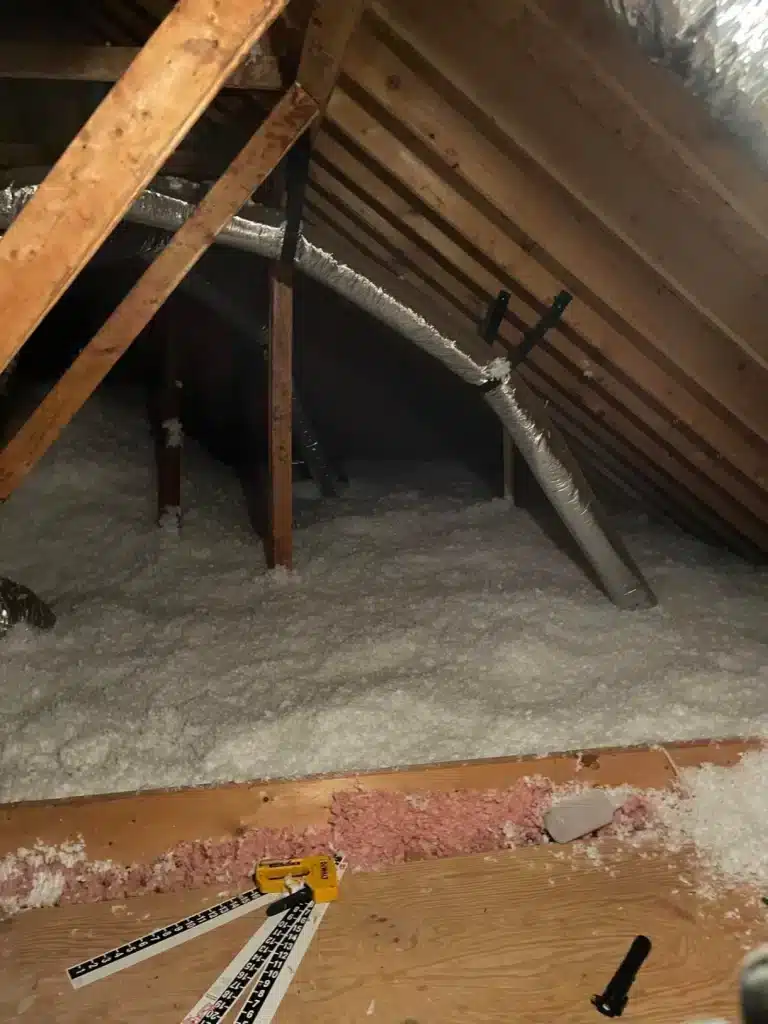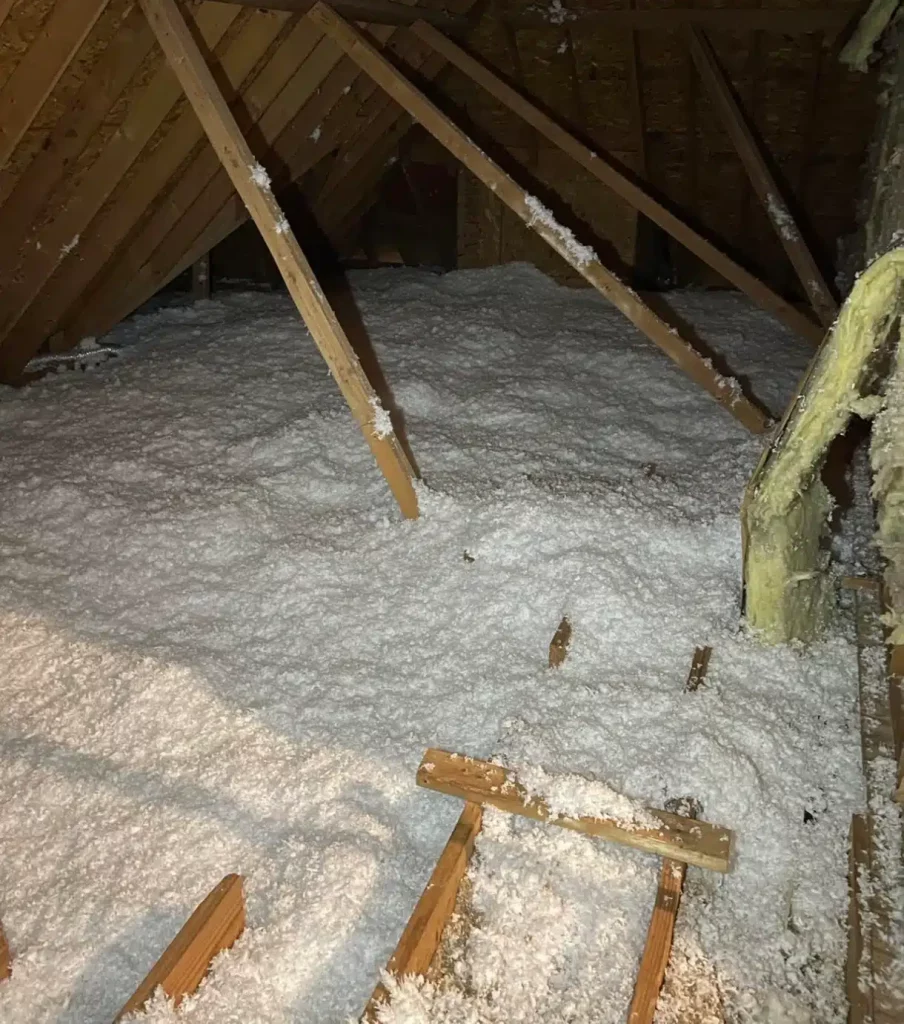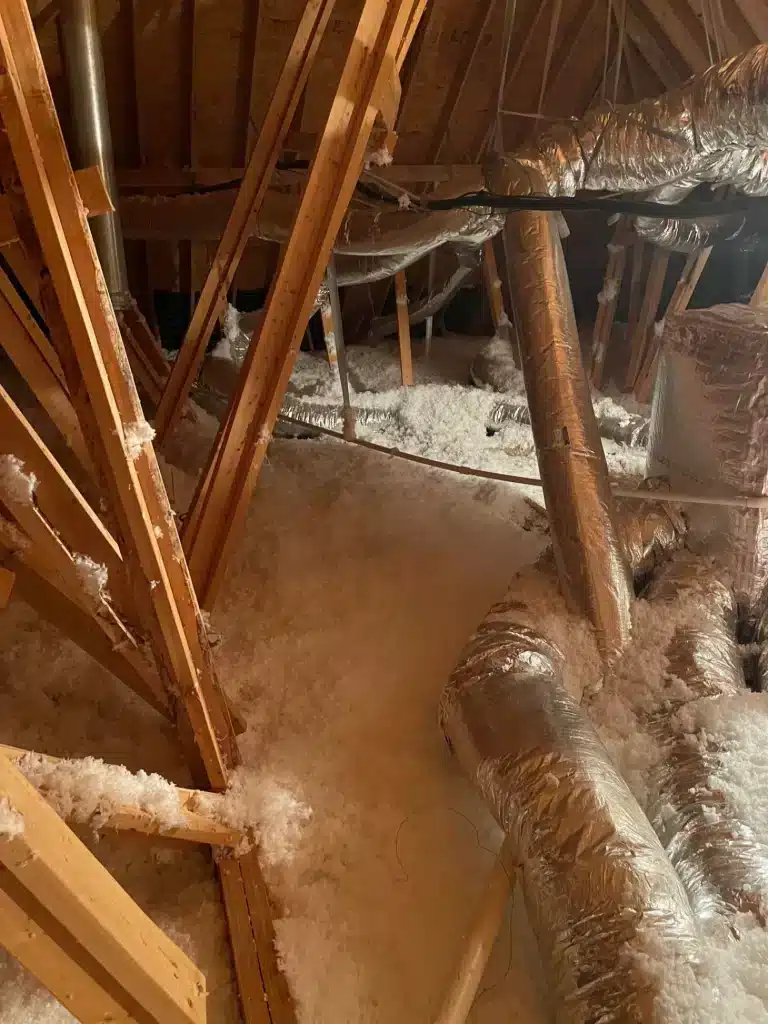

Getting your property ready for a spray foam insulation installation is straightforward and mostly involves clearing the way for the professionals. The primary steps for a homeowner are to remove all personal belongings, furniture, and debris from the installation areas, such as the attic, crawl space, or wall cavities. You will also need to ensure there is a clear and unobstructed path for the technicians and their equipment from their truck to the work zone. Finally, plan for people and pets to be out of the home during the application and for the initial curing period, which typically lasts 24 hours.
While the installation team handles all the technical aspects of the job, from surface protection to cleanup, these simple preparations make the process smoother, faster, and safer for everyone involved. This guide walks through exactly what to expect before, during, and after the installation, based on years of field experience, so you can be fully prepared.
Things to Consider Before Making a Decision
Before you even schedule an installation, there are a few important factors to think about to ensure spray foam is the right choice and that your property is truly ready.
Existing Insulation Removal
In many cases, old and inefficient insulation like fiberglass batts or loose-fill cellulose should be removed. This is especially true if it is damp, moldy, or contaminated by pests. Spraying over compromised insulation can trap moisture and other problems. In some situations, new foam can be applied over existing insulation, but a professional assessment is needed to make that call.
Electrical and Plumbing Access
Spray foam insulation hardens into a rigid or semi-rigid solid. It will cover and seal around any wiring, junction boxes, and plumbing lines within the insulated cavity. If you have any plans for electrical upgrades, new plumbing, or running new cables, this work must be completed before the insulation is installed.
Bonus Tip: Before insulating, take photos or create a simple diagram of where electrical junction boxes and key plumbing shut-offs are located within the walls or attic. This can save a lot of trouble for future maintenance or repairs.
Climate-Specific Considerations
The type of spray foam best for your home can depend on your climate. The U.S. Department of Energy provides guidance on insulation for different climate zones. For example, in humid regions like the Southeast, closed-cell spray foam is often recommended for attics and crawl spaces because it acts as a vapor barrier, preventing moisture from passing through. In drier climates, open-cell foam may be sufficient and more cost-effective.
Understanding Foam Types
Choosing between open-cell and closed-cell foam is a key decision. Each has distinct properties suited for different applications.
| Feature | Open-Cell Spray Foam | Closed-Cell Spray Foam |
|---|---|---|
| R-value per Inch | ~R-3.5 to R-4.0 | ~R-6.0 to R-7.0 |
| Density | Low (0.5 lb/ft³) | High (2.0 lb/ft³) |
| Air Barrier | Yes | Yes |
| Vapor Permeability | Permeable (Allows vapor to pass through) | Non-Permeable (Blocks vapor) |
| Structural Rigidity | No, remains flexible | Yes, adds to structural strength |
| Cost | Lower | Higher |
Pre-Installation Preparations: The Homeowner’s Checklist
Proper preparation on your part helps the installation proceed without delays. Think of it as setting the stage for the main event. A clean and accessible work area allows the crew to focus entirely on applying the insulation correctly and efficiently.
Clearing the Installation Area
The most important task is to completely clear out the spaces designated for insulation solutions.
- Attics: Remove all stored items, including boxes, holiday decorations, old furniture, and any other personal belongings. The space needs to be empty to give technicians full access to the rafters and floor joists.
- Crawl Spaces: Just like attics, crawl spaces must be cleared of all stored materials. Technicians need to move around freely to ensure complete coverage.
- Walls: If you are insulating existing walls, you will need to remove pictures and shelves from the walls and move furniture away from them.
Securing a Clear Path for Technicians
The spray foam equipment is truck-mounted and connected by a long hose that runs into your home. A clear pathway is essential for safety and efficiency. This includes:
- Moving vehicles from the driveway.
- Clearing walkways of any obstacles like tools, toys, or planters.
- Ensuring hallways and stairs inside the home are unobstructed.
Protecting Valuables and Surfaces
Professional installers will cover floors, windows, and permanent fixtures with plastic sheeting. However, it’s always a good idea to take extra precautions in adjacent rooms. Fine particles of overspray can travel, so covering nearby furniture or valuable items provides an extra layer of security.
Bonus Tip: Move sensitive electronics like computers and televisions out of rooms near the installation zone or cover them securely with plastic. While professionals are careful, it’s better to be safe.
Managing Pets and Family Members
Spray Polyurethane Foam (SPF) releases chemical fumes during application. According to the U.S. Environmental Protection Agency, the chemicals require proper handling and ventilation. For this reason, all occupants, including pets, must vacate the premises before the work begins and should not re-enter for at least 24 hours to allow the foam to fully cure and the air to clear.
The Installation Day: What Professionals Handle
Once you’ve done your part, the installation crew takes over. They follow a systematic process to ensure a safe and effective application.
Site Setup and Protection
The first thing the crew will do upon arrival is prepare the site. This involves:
- Laying down plastic sheeting or drop cloths along the access path and in the work area.
- Masking off windows, doors, electrical outlets, light fixtures, and any other surfaces that should not be sprayed.
- Setting up powerful ventilation fans to exhaust fumes and maintain air quality.
Safety Protocols and Application
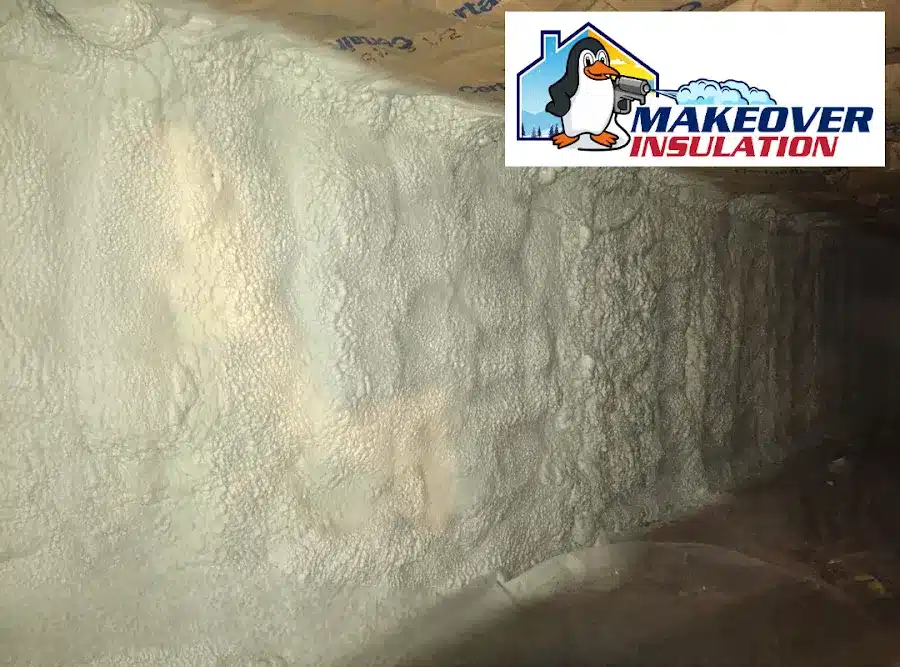
Technicians wear extensive personal protective equipment (PPE), including full-body suits, gloves, and fresh-air respirators. They then begin applying the two-component foam mixture to the designated surfaces. The liquid expands within seconds of hitting the surface, filling every crack and crevice to create a continuous air seal.
Post-Application Cleanup
After the spraying is complete, the crew begins the cleanup process. They will:
- Trim any oversprayed foam that expanded beyond wall studs or rafters.
- Remove all plastic sheeting and masking materials.
- Gather their equipment and clean the work area, leaving it as they found it.
To help clarify the process, here are answers to some of the most common questions.
Final Thoughts on a Smooth Installation
Preparing your property for spray foam insulation is a collaborative effort. By taking a few simple steps to clear and prepare the work areas, you enable the installation team to perform their job to the highest standard. This ensures not only a better final result but also a safer and more efficient process from start to finish. Always discuss the specific requirements for your project with your chosen contractor to make sure all bases are covered.
Ready to Plan Your Project?
Understanding the preparation process is the first step toward a successful insulation upgrade. If you have questions about your specific property or want to discuss whether spray foam is the right fit, the team at Makeover Insulation LLC can provide a detailed assessment. Contact an expert by calling (404) 800-0300 or sending an email to [email protected] to get clear answers and help planning your project.
Learn how we’re growing to serve your neighborhood, read more about Makeover Insulation’s expansion.
Sources
U.S. Department of Energy – Offers official guidance on insulation R-values and recommendations for different climate zones across the United States.
U.S. Environmental Protection Agency (EPA) – Provides detailed information on the health and safety considerations of spray polyurethane foam, including isocyanates.
Your Spray Foam Installation Questions Answered
How long does the spray foam smell last?
The noticeable odor from the installation typically dissipates within 24 to 48 hours, provided the area is well-ventilated. Proper installation by qualified technicians using the correct mixture ratios is key to ensuring the foam cures correctly and becomes inert.
Can I be home during the installation?
No, it is not safe to be in the house during the spray foam application. The process releases chemicals into the air that require professional-grade respiratory protection. Homeowners, family members, and pets should leave the property before work begins and stay away for at least 24 hours.
What is the curing time for spray foam?
Spray foam is typically tack-free within minutes, but it is not fully cured and stable for about 24 hours. Adhering to the 24-hour re-entry guideline is the standard safety recommendation to ensure the chemical reactions are complete.
Does spray foam need a separate vapor barrier?
Closed-cell spray foam is a vapor barrier in itself and does not require an additional one. Open-cell foam is vapor-permeable, so in colder climates where a vapor barrier is required by building codes, one may need to be installed on the warm side of the wall.
Is trimming the excess foam necessary?
Yes, in applications like wall cavities, any foam that expands beyond the face of the studs must be trimmed flush. This allows drywall or other wall coverings to be installed smoothly over the insulated frame.